A Comprehensive Look at the Paint Correction Process
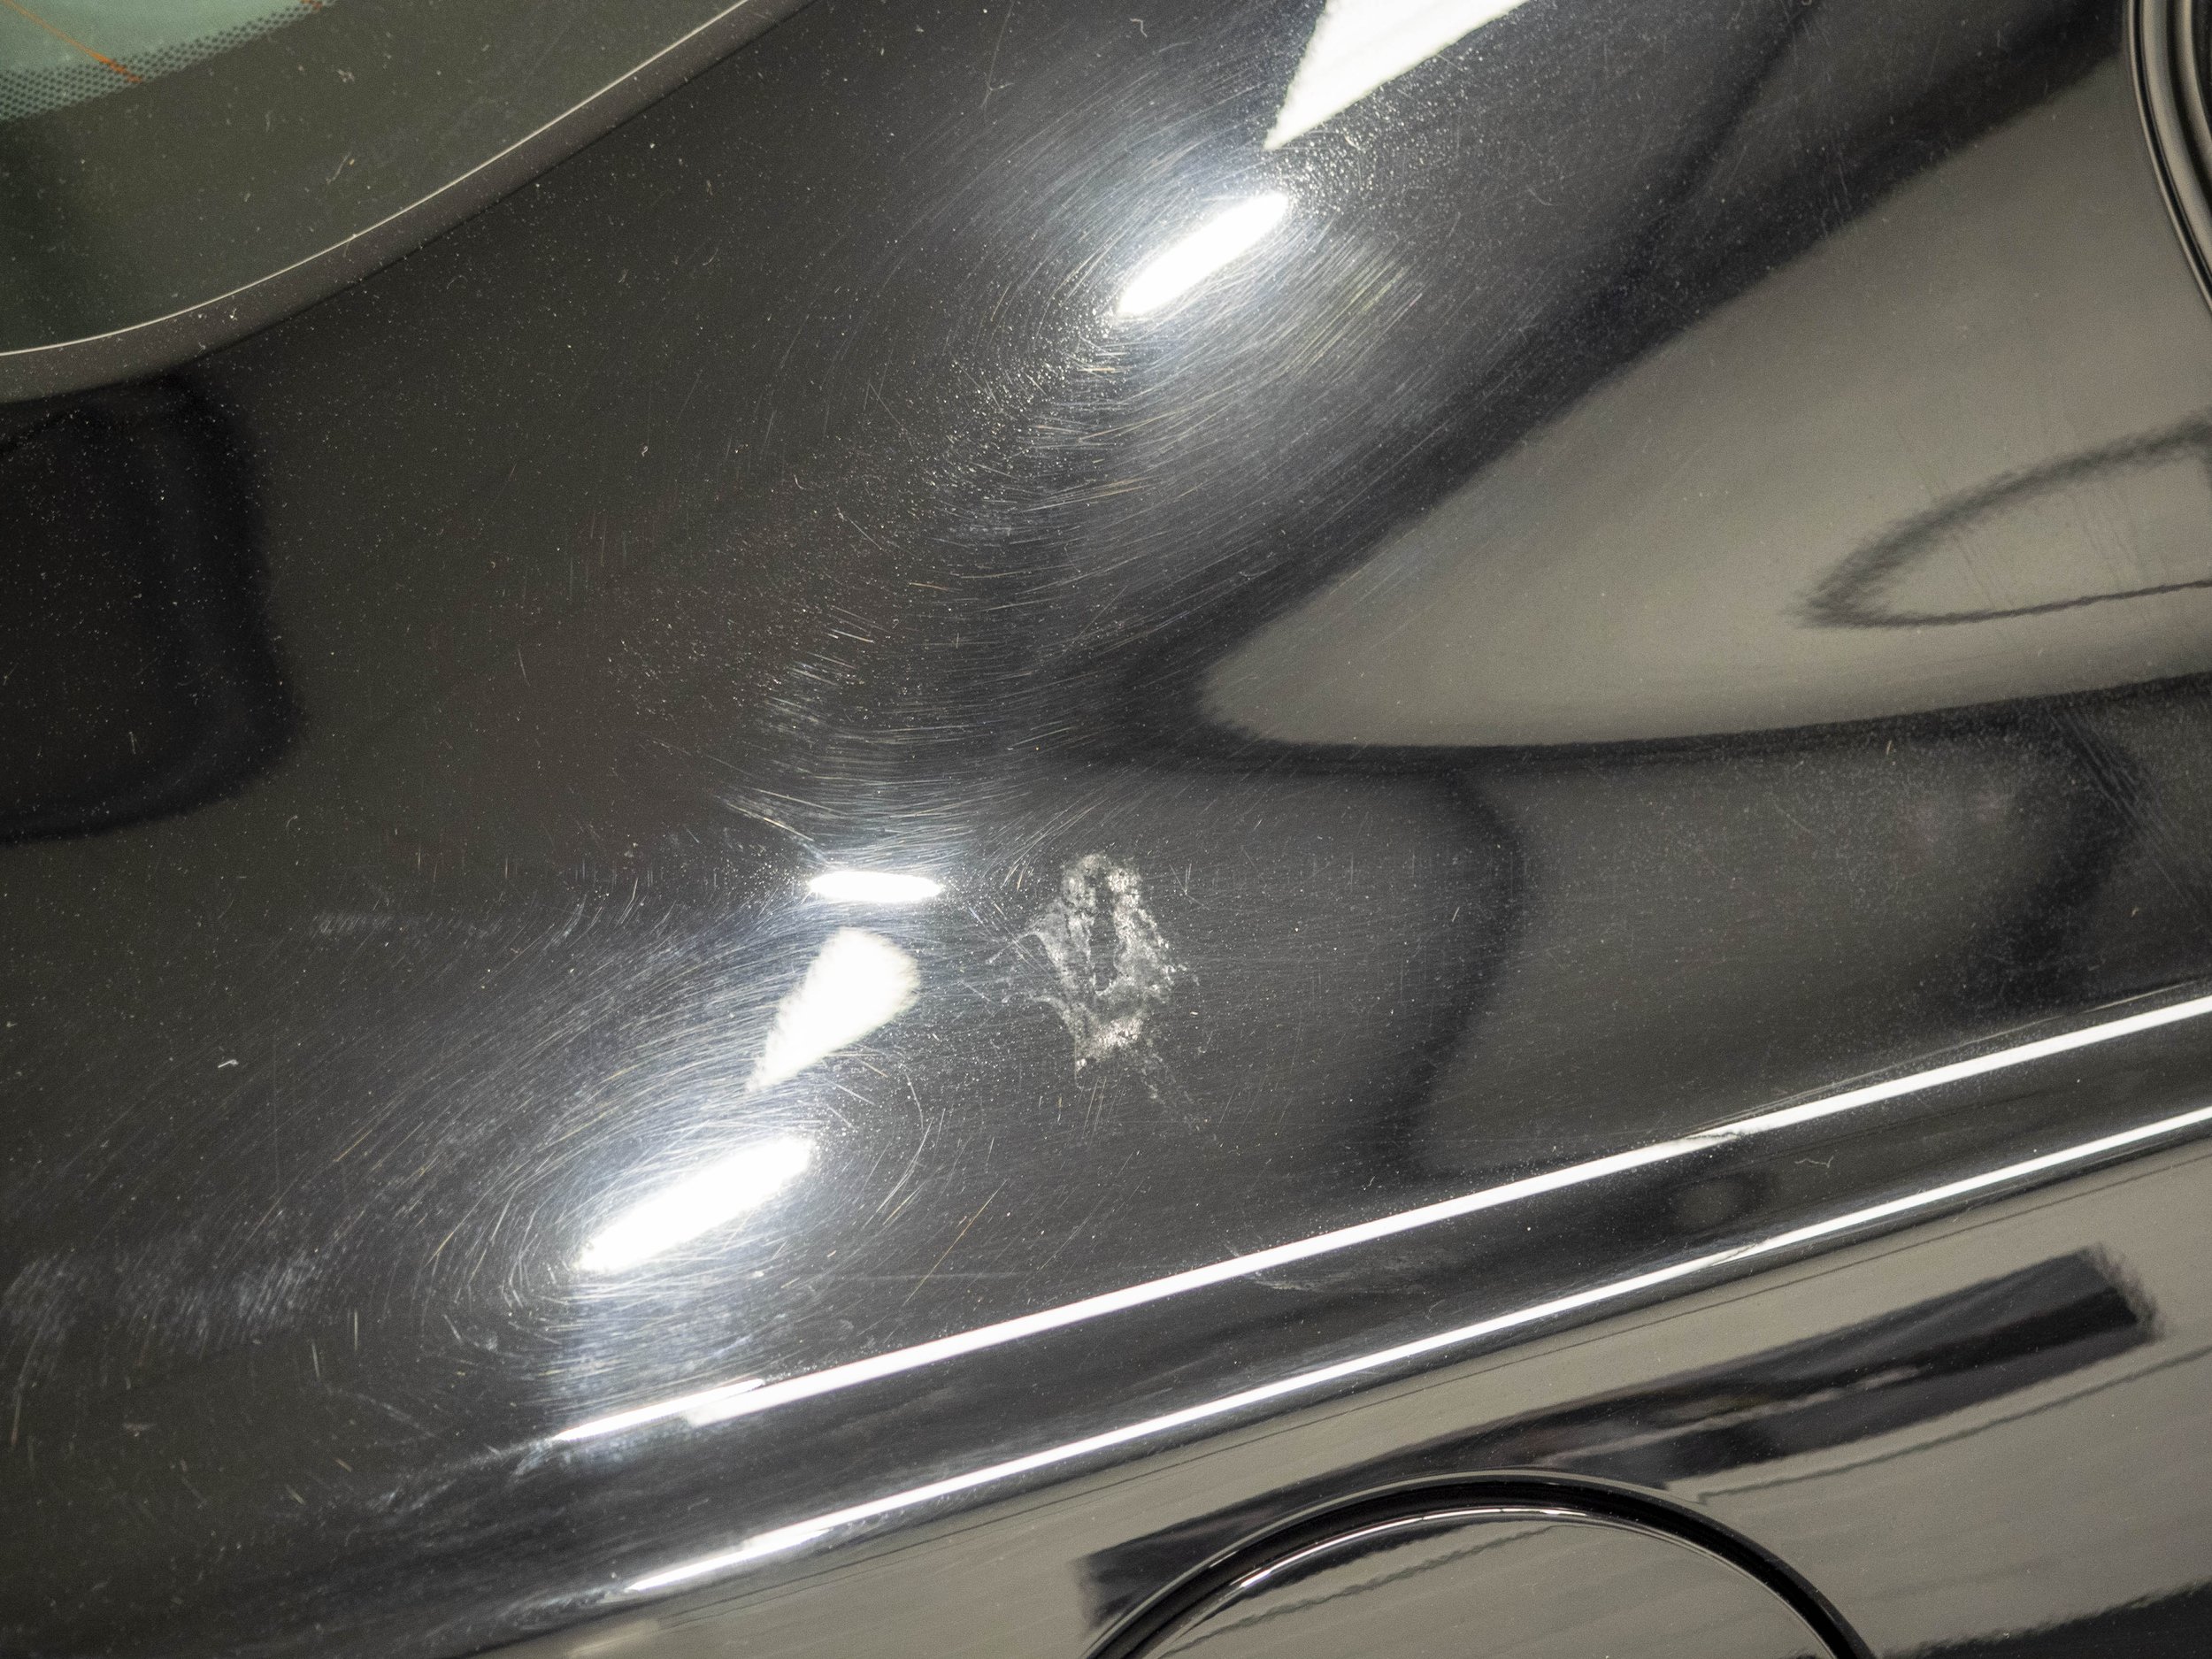
From tackling swirl marks and oxidation to remedying light scratches and other subtle signs of damage, paint correction is a transformative treatment for your car. But what’s actually involved in restoring your vehicle’s original finish and shine? In this comprehensive guide we run through the paint correction process from end-to-end covering each step, how long it takes, and why you should invest in it. If you’re unfamiliar with the basics, we recommend looking over our previous blogs here first to learn more about the features and benefits of paint correction.
Why are proper assessments important?
Just like a doctor would assess your needs before treatment, the same goes for a car before paint correction work begins. This important step allows professional detailers to determine the severity of the damage – the more we know upfront, the better the treatment plan and correction process will be. A paint-thickness gauge is the go-to device as it helps us to measure the depth of the clear coat on the car. If it’s too thin, the correction will need to be conservative. Inspection lights and magnifying glasses are also vital tools here, allowing us to spot any imperfections which aren’t visible to the naked eye. A thorough assessment is the foundation of successful paint correction and helps to identify if a single-stage or multi-stage correction will be needed.
What are the different stages of paint correction?
There are four main steps involved in the paint correction process, and each step is essential. Skipping a step or using improper tools can cause further damage to your paintwork.
1/ Washing and decontamination
To prepare it for the paint correction process, a car's surface first needs to be thoroughly washed to eradicate any loose dust, dirt, and product that could cause further scratches during treatment. We use microfiber mitts and a two-bucket process with pH-neutral car shampoo to prepare a clean canvas for the correction work. The two-bucket process involves one bucket for soapy water and the other for cleaning the mitt, to make sure the debris from the mitt doesn’t scratch the surface. A clay bar can then be used with a lubricant spray to strip bonded contaminants like tree sap or tar, as generic washing can’t remove these easily. We also apply a fallout remover at this stage as an extra step. This provides a deep clean that turns purple as the chemicals react with any metal contaminants on the paint. This makes sure the car’s surface is as smooth as possible and is primed and ready for the more abrasive process.
2/ Paint correction
Depending on the level of damage, different levels of correction will be needed:
One-step correction is perfect for minor imperfections to remove light scratches and swirls with a medium-cut polish.
Two-step correction is an approach best for moderate imperfections and requires a cutting compound and a finishing polish.
Three-step correction is designed for severe defects and involves heavy cutting, a medium polish, and a final refining polish to add mirror shine and glossy finish.
The ultimate correction involves a four-step process, which adds a further refining stage to achieve the head-turning ultra-high gleaming finish for cars with significantly damaged paintwork.
However many stages are needed, this part of the process restores smoothness and removes all imperfections so they are ready for polishing.
3/ Refining and polishing
After the detailed correction work has been carried out, the next stage involves bringing depth, clarity of colour and shine back to the paintwork by polishing the paint and preparing it for the protection stage. Dual-action polisher, pads and less abrasive compounds are used here to restore the premium aesthetic. Finishing polishes like Koch Chemie, Rupes, Menzerna, and 3M really help to bring out a deep, beautiful gloss and give a near-mirror finish. This stage is where the paintwork begins to look truly vibrant and eye-catching.
4/ Protection
To keep your freshly corrected paint in pristine condition a protective layer is added once the treatment stages are complete. There’s a range of available options including waxes, sealants and advanced ceramic coatings that protect the paint from dirt and the elements – most often UV damage and acid rain. Wax and sealants last for several months, and ceramic coatings like Gtechniq Crystal Serum Light provide longer-lasting damage prevention, scratch resistance and UV protection (often up to five years), by forming a semi-permanent bond with your paint which makes future cleaning much easier.
Each stage is essential for achieving a sparkling, high-end finish and ensuring your car looks as good as new long-term, which is not only beneficial from an aesthetic point of view but also a cost-effective choice, as it helps to preserve the resale value of your vehicle.
How long does a full paint correction take?
This really depends on a variety of factors, from the current condition of your vehicle's paintwork to its size and the type of correction needed. One-step correction can be done relatively quickly, typically in around 4-6 hours. The more steps involved, the longer it will take. Multi-step corrections can take between 8-12 hours, while a three or four-step could require 15-24 hours or more. A smaller car like a Mini will naturally take much less time than larger cars like Jeeps, and heavier damage like oxidation will require more restoration time than general swirl marks.
As with everything, an experienced professional will work more efficiently, with more advanced tools and techniques that can speed up the process whilst still maintaining a high standard of finishing. Your detailer should be able to give you a rough idea of timescales before work starts following an initial assessment.
Bringing it all together - the path to perfect paintwork
In this guide we’ve covered the paint correction process in more detail, including the different stages and techniques involved and why it’s worth the investment. From the very first assessment all the way through to protective sealant, each step is critical in transforming your car’s aesthetic and keeping it that way long-term.
For tailored advice or to learn more about the different types of paint correction treatments available for your vehicle, consult our specialist team today. We offer free consultations to assess your car’s needs – simply fill out our contact form to receive a call-back and take the next step today.

